Understanding Boards in ESPHome
A board (circuit board) is the base for your ESPHome smart home device. It serves as the foundation for connecting electronic components. The main role of a board is to provide structure and support for the components. It also facilitates electrical connections between these components.
You can find out more basics about circuit boards generally on the Wikipedia page for ‘printed circuit board’.
Every board has a name it is known as, which is often printed directly on a part of the board. This name/board type can be in different places depending on the type/size of the board or be absent. If you cannot find the board name either on the board or in information about your board then you’ll need to either connect your board using an appropriate cable when building your project in ESPHome Device Builder or choose a board variant to start building.
How to Identify Your Board
Section titled “How to Identify Your Board”-
Check each side of your board. You’ll be looking for
ESPBKRPRTLLNornRFand other numbers/letters after it. There are other boards that are supported which you can find out more about; for ESP32 see the ESP32 variants.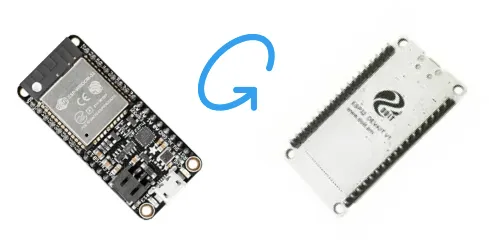
Check every side of the board for the printed name; details can hide on the reverse. -
On your board there is text that tells you the name/variant. To read very small text, use a magnifying lens, or take a photo with a camera and zoom in.
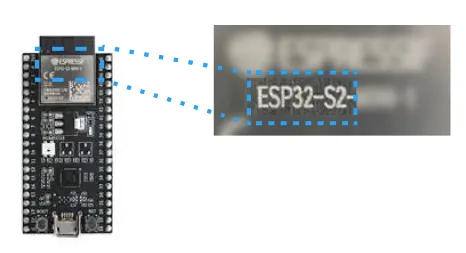
Example shows an ESP32-S2 variant; spacing and dashes vary between boards. -
Alternatively, you can check details from where you purchased the board or any documents enclosed when you received it if you cannot find variant information on your board and connecting your board to auto-detect the details is not an option.
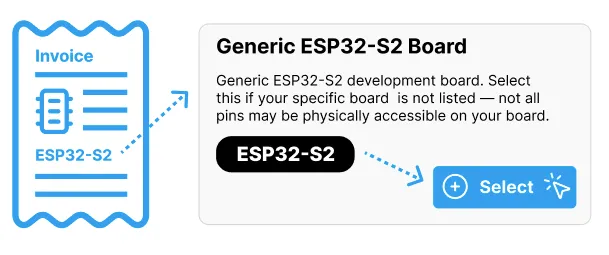
An invoice or receipt showing a board variant name, beside the UI for selecting that board.
I Don’t Have a Board Yet
Section titled “I Don’t Have a Board Yet”If you want to start a configuration file for a project or explore what the possibilities are for building ESPHome smart home devices you can either start an empty configuration project which will create a blank YAML file which can be found under the advanced setup options.

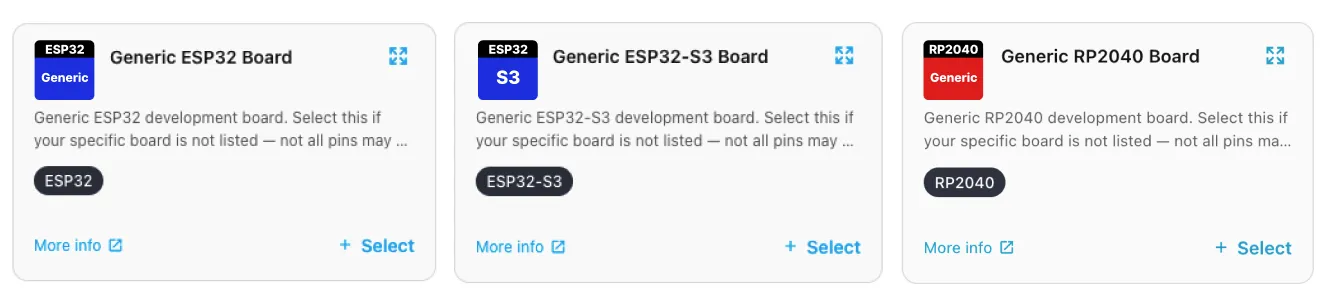
Alternatively you can choose any generic variant of any board (displayed below: ESP32, ESP32-S2, ESP32-S3, ESP32-C3, ESP32-C6, ESP32-H2, ESP8266, RP2040/RP2350, BK72xx, RTL87xx, LN882x, nRF52 and more board variants may be available) to get started and test out what’s possible and change the board using the interface or re-define in the YAML file at a later date. Be cautious when changing a board.

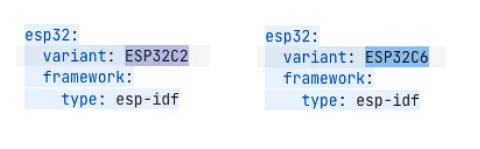
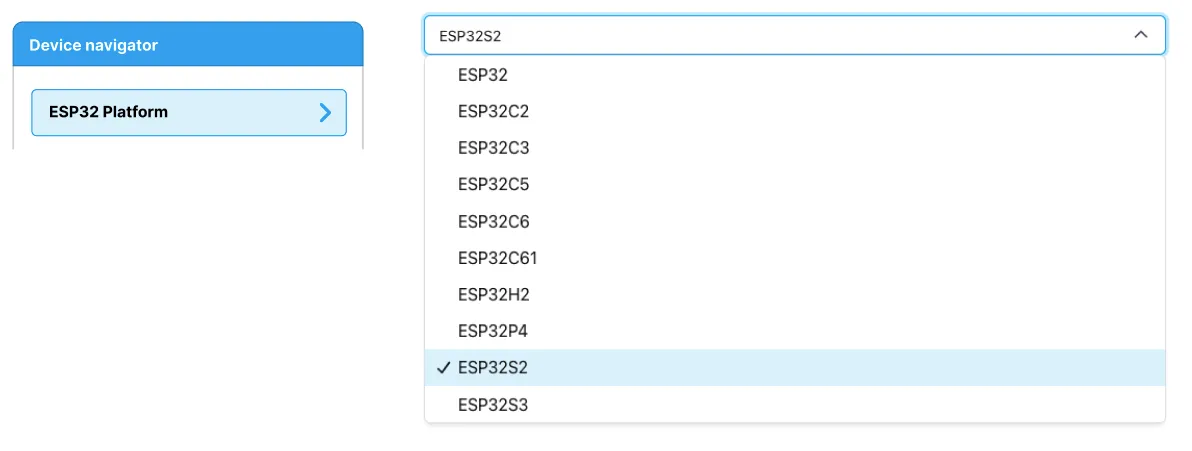
To change a board you selected at setup, you first need to find and select the
[Board name] Platform in the Device navigator menu. Then in the central section with
input fields and places to type you should find a dropdown that allows you to select
another variant.
The YAML file can also be edited directly to change the platform variant. The YAML and the input fields reflect each other so changing one will also change the other.